Feb 8, 2024

NetComm & GigaComm Plume Wi-Fi Setup Guide | GigaComm
Welcome to the Gigabit Community!
We’ve sent you a few pieces to connect you to our ultra-fast network. The NetComm router will give you a direct connection to the Internet and the GigaComm Plume Wi-Fi SuperPods will provide consistent connection across your home or office. Simply follow the below instructions to setup your new internet connection.
If any of these items are missing or damaged, please contact GigaComm Support immediately at support@gigacomm.net.au
In the NetComm CPE box:
1 x NetComm Router
2 x 4G/LTE antennas
1 x RJ45 Ethernet cable
1 x RJ11 Telephone cable
1 x Power supply (12V/2A)
In the Plume Boxes:
2 x Plume Pods
+ Any additionally purchased pods
NetComm Router Setup
- Unbox the NetComm CPE and install the two antennas onto the contact points on the back of the router. Plug the power cable into an available power socket.
- Using the provided RJ45 Ethernet Cable, connect the blue WAN port on the NetComm router to the Internet Port on your NBN NTD. See Figure 1 on page 1 for details.
- It can take a few minutes for your connection to stabilise. You should see the Power, Internet and LTE lights turn green on the NetComm router. This means you are now connected to the Internet. Refer to Figure 2 on page 9 to see the meaning of LED indicators.
Plume Setup
We now need to set up the Plume Wi-Fi access points to distribute the Wi-Fi signal across your store. Read the Plume Placement Guide before proceeding with Plume setup.
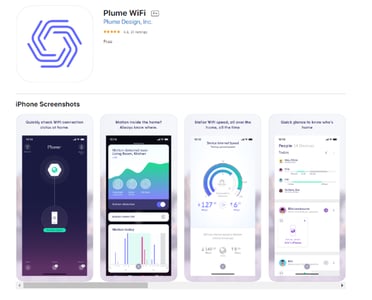
- Download the Plume WiFi app from Google Play or the App Store.


- Launch the Plume app and choose the Setup Plume option.

- The app will prompt you to enter your name and email. This will be for your new Plume account used to manage the Plume pods. In the name field enter the Name & Location of your site e.g. Lowes Werribee. Choose your Plume account password, which must be at least 8 characters long.


- A verification email will be sent to you. Click on the Verify Email link within that email to continue the setup process.

- You'll be presented with the overall steps to get your first pod connected. This will become the main pod of your Plume network. The info buttons will bring up additional details for each step.

- The first step is to connect a pod by Ethernet to your modem. Connect either of the ports on the Plume pod to the Yellow ETHERNET 1 port on your NetComm CPE. – Refer to Figure 1 on page 1 and the Plume Placement guide

- Plug the pod into power. You should see the green LED on the face of the pod turn on.

- Restart your NetComm CPE by taking the round power cable out, wait 2 seconds then put it back in. This ensures the Plume Pod is detected. Once the NetComm has turned back on and the Ethernet 1 light is on, tap on Next to move on to setting up your SSID.

- The first step is to connect a pod by Ethernet to your modem. Connect either of the ports on the Plume pod to the Yellow ETHERNET 1 port on your NetComm CPE. – Refer to Figure 1 on page 1 and the Plume Placement guide
- The LED will continue to slowly pulse until the pod connects to the Plume cloud. Once connected, the LED will turn off and the app will prompt you to input your new Wi-Fi name (SSID) and Password. In the Choose Wi-Fi name field enter your preferred Wi-Fi name.
Choose a secure password for the Wi-Fi and record it in a safe place. Ensure the password includes Uppercase & Lowercase letters, numbers, and symbols for the best security. This is the password to connect to the new Wi-Fi network.

- If you have more than one Plume pod, start plugging them in now. Stay close to each pod until it is found. As each one connects to the network and cloud, a green check mark will appear, and the LED will turn off. Tap on Completed once all pods have been added.

- The Plume app will prompt you to join the new Wi-Fi network with your mobile.
- Tapping on Join will take you out of the Plume app and into the Wi-Fi settings so you can join.
- Once back in the Plume app, a Welcome Aboard message indicates that the device is now connected, and the new Wi-Fi network is operational.

- After you have joined the network, you'll be taken to the home screen. Click on the Network button in the top left corner so you can see your connected Plume Pods. If you have connected to more than one pod it will initially show up in red then once it connects back to the main pod you will see it turn white and a line will connect it back to the main pod. This can take about 5 minutes so allow it some time to setup.

- Once you’ve installed the remote pods and they have connected back to the main pod, connect to the new Wi-Fi network from your phone or computer and confirm you can access the internet by visiting www.gigacomm.net.au
Now that your internet is setup, we can look at connecting your phone system. Refer to the IP Telephony Installation Guide for more details. Also consider that any devices that were on the old Wi-Fi network now need to be connected to the new Wi-Fi network.
If you are having problems setting up your phone contact Gigacomm Support on 1300 004 442 or email us at support@gigacomm.net.au
Latest news from GigaComm
Read the latest blogs and articles here

